How do you maintain a good documentation of your APIs? And how do you share it with others? If you are a good backend developer like me, I am sure you also hate writing and maintaining API documentation. One of the options is to add Swagger to your projects. And in Java’s Spring Boot framework, adding swagger is a piece of cake.
Dependencies for Swagger and Swagger UI
Add the following dependencies in your pom.xml file.
<dependency>
    <groupId>io.springfox</groupId>
    <artifactId>springfox-boot-starter</artifactId>
    <version>3.0.0</version>
</dependency>
<dependency>
    <groupId>io.springfox</groupId>
    <artifactId>springfox-swagger-ui</artifactId>
    <version>3.0.0</version>
</dependency>
<dependency>
    <groupId>org.springframework.boot</groupId>
    <artifactId>spring-boot-starter-web</artifactId>
</dependency>
Add Swagger Configuration
Create a configuration file in your project. You can optionally add additional information about your project and contact details as well. Make sure to update the package name and other details in the code below.
@EnableSwagger2
public class SwaggerConfig {
  @Bean
  public Docket springBootApis() {
    return new Docket(DocumentationType.SWAGGER_2)
        .apiInfo(apiInfo())
        .enable(true)
        .select()
        .apis(RequestHandlerSelectors.basePackage("com.oddblogger.springbootswagger"))
        .paths(PathSelectors.any())
        .build();
  }
  private ApiInfo apiInfo() {
    return new ApiInfo(
        "Your Backend Service APIs",
        "Description of your project.",
        "1.0",
        "",
        new Contact("Support", "https://oddblogger.com", "contact@oddblogger.com"),
        "",
        "",
        Collections.emptyList());
  }
}
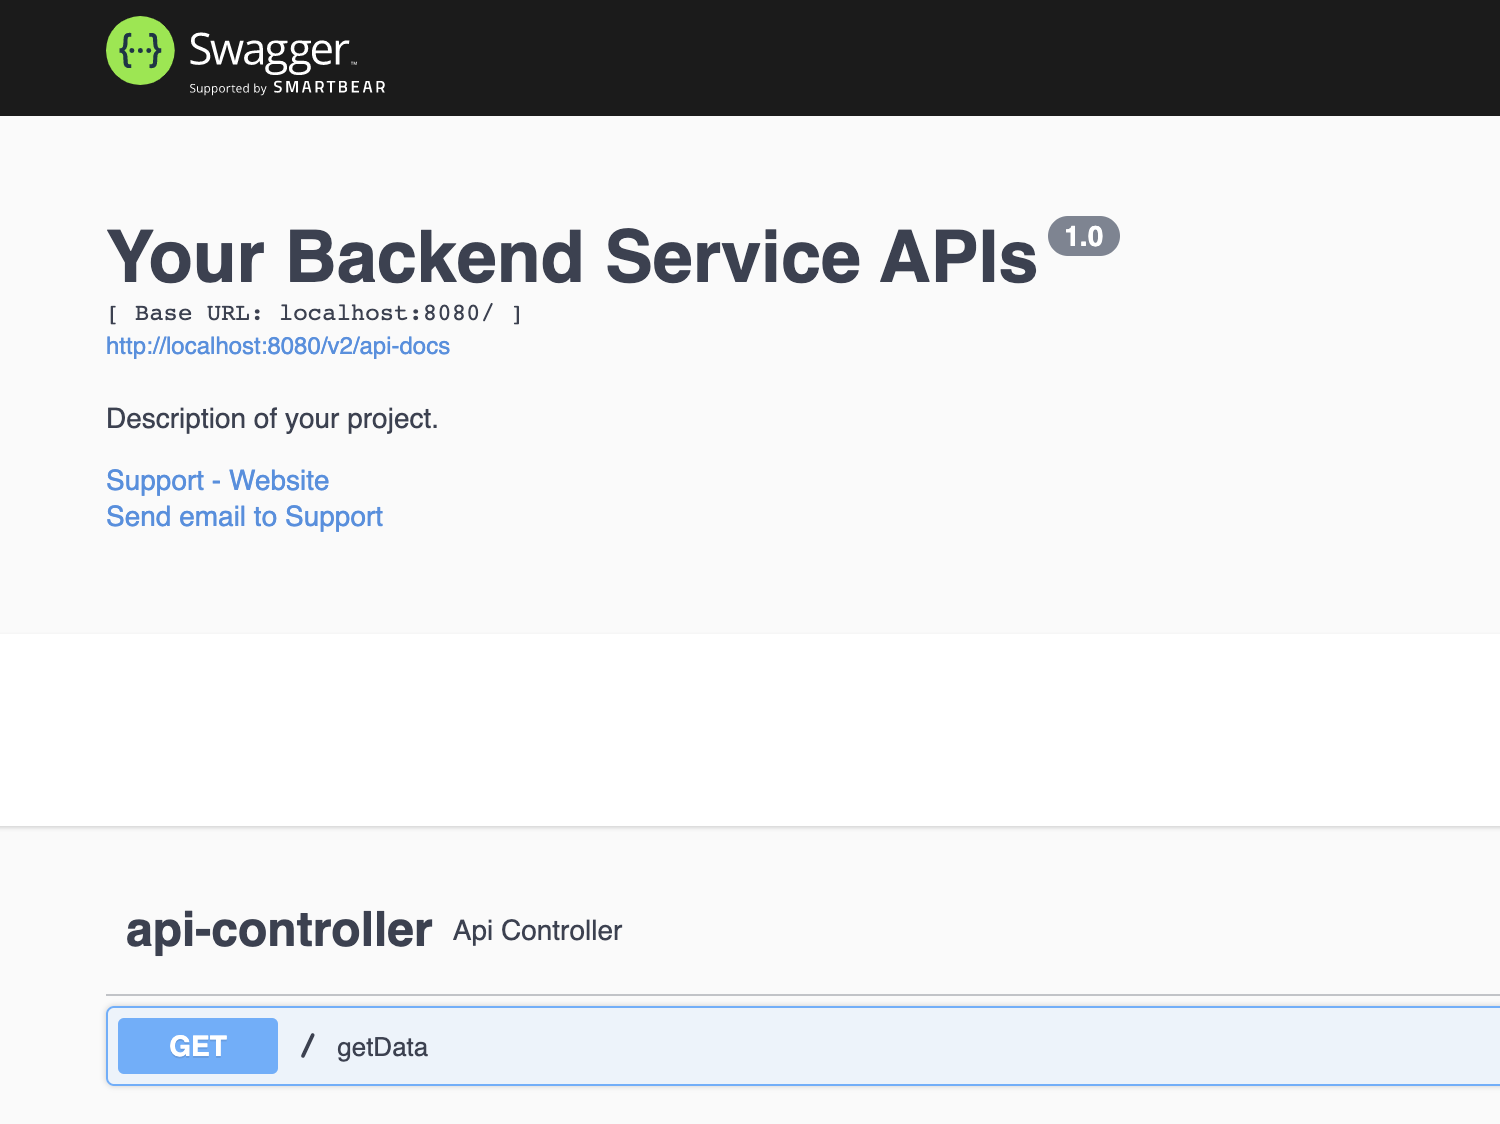
That’s all. Run the project and go to localhost:8080/swagger-ui/ to see your documentation.
Adding headers in your Swagger
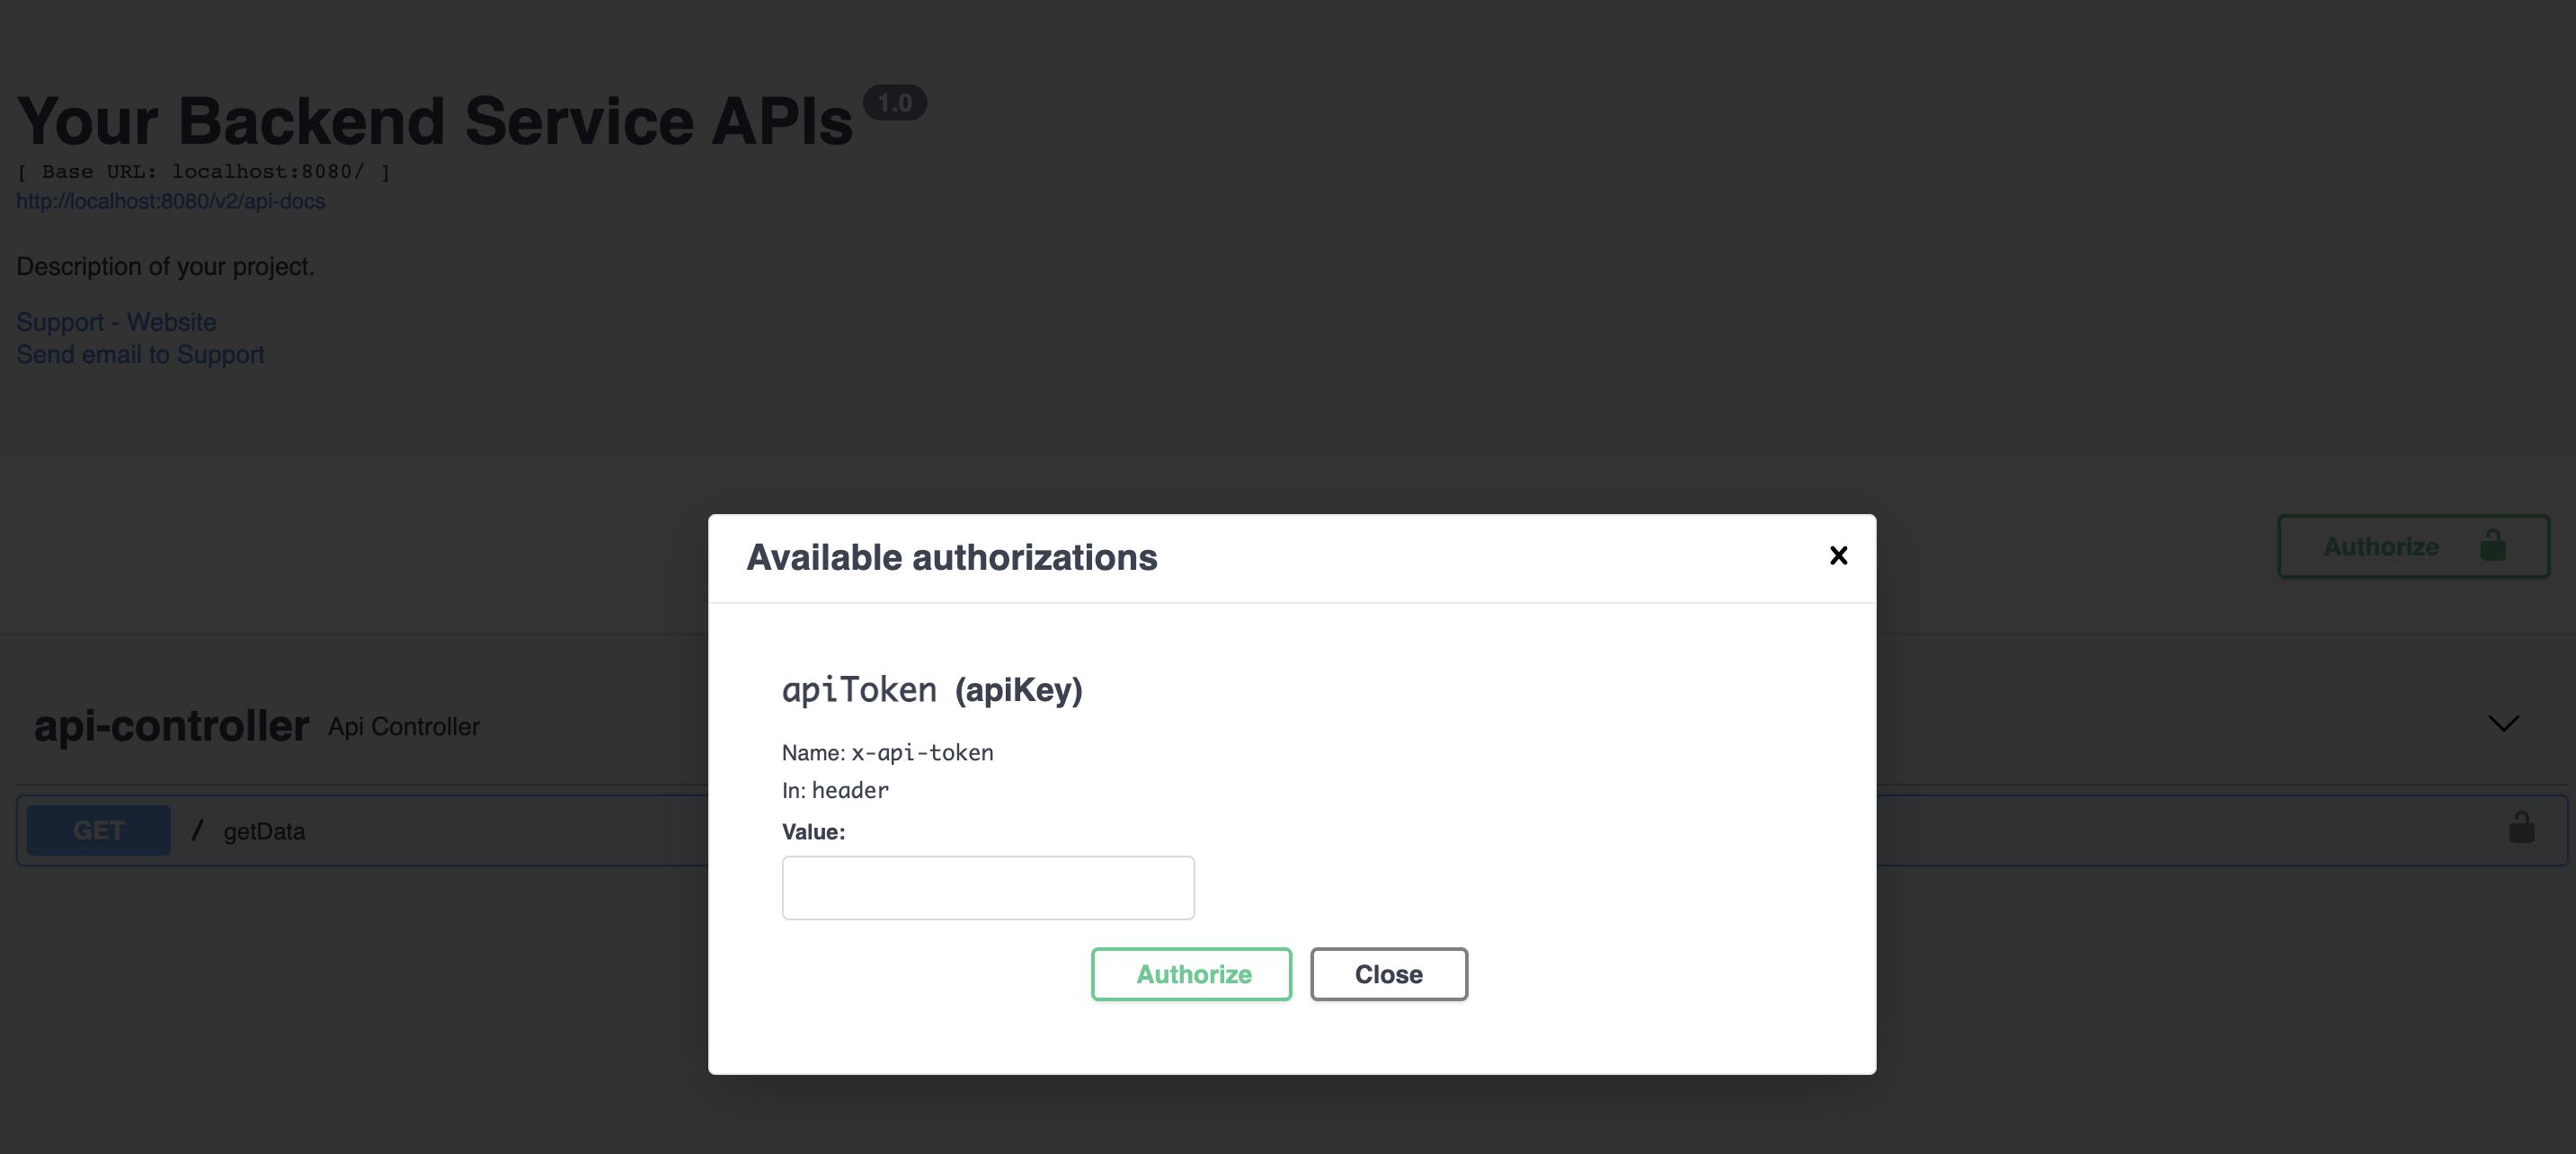
If your APIs need headers in the requests then you will have to specify those in your configuration itself. You can define and add headers using ApiKey class from springfox package.
private ApiKey apiToken() {
  return new ApiKey("apiToken", "x-api-token", "header");
}
Once you define those headers with ApiKey class, you will start to see a button to add Authorization in your calls. You can click on that button to add authorization headers. You can add more than one headers if your APIs need.
Securing Swagger Endpoints
The last important thing you would need is to secure your API docs endpoints to not make your API definitions public. We will protect our documentation endpoints with username and password combination.
We can use spring framework starter security dependency to achieve this.
<dependency>
    <groupId>org.springframework.boot</groupId>
    <artifactId>spring-boot-starter-web</artifactId>
</dependency>
After adding the we will create a web security configuration class which will contain the list of URLs we need to protect, the authentication mechanism and username and password setup.
Here is the file for web security config:
@Configuration
@EnableWebSecurity
public class WebSecurityConfig extends WebSecurityConfigurerAdapter {
  private static final String[] AUTH_LIST = {
      "/v2/api-docs",
      "/configuration/ui",
      "/swagger-resources",
      "/configuration/security",
      "/swagger-ui.html",
      "/webjars/**"
  };
  @Override
  protected void configure(AuthenticationManagerBuilder auth) throws Exception {
    auth.inMemoryAuthentication()
        .withUser("admin")
        .password(passwordEncoder().encode("YourPassword")) // tip: don't keep these credentials committed in code
        .roles("USER", "ADMIN");
  }
  @Override
  protected void configure(HttpSecurity http) throws Exception {
    http.authorizeRequests()
        .antMatchers(AUTH_LIST)
        .authenticated()
        .and().httpBasic()
        .and().cors().and().csrf().disable();
  }
  @Bean
  CorsConfigurationSource corsConfigurationSource() {
    CorsConfiguration configuration = new CorsConfiguration();
    configuration.setAllowedOriginPatterns(Collections.singletonList("*"));
    configuration.setAllowedMethods(Collections.singletonList("*"));
    configuration.setAllowedHeaders(Collections.singletonList("*"));
    configuration.setAllowCredentials(true);
    UrlBasedCorsConfigurationSource source = new UrlBasedCorsConfigurationSource();
    source.registerCorsConfiguration("/**", configuration);
    return source;
  }
  @Bean
  public PasswordEncoder passwordEncoder() {
    return new BCryptPasswordEncoder();
  }
}
Now anyone who opens the endpoint will have to authenticate with a username and password that you have specified above.
You can get the sample project with all the code here: Github Repo


